How to make a demo video of your web app without a video editor
A short, clear screen recording does more for a launch than a long polished one. Here is how to plan, record and finish one in the browser.
A product demo video has one job: let someone who has never opened your app see it do the thing it is for. Most of the work is deciding what to leave out. The recording itself can take a few minutes if you set it up well.
This post covers the planning that applies to any demo video, then the recording and editing in Stepsome, where the same steps you clicked for an onboarding tour are replayed and recorded for you.
What makes a demo video watchable
- One flow, start to finish. Show a single job being done, not a round of every screen. If you have three stories to tell, make three short videos.
- The viewer can see where to look. A full app window shrunk to the width of a landing page is unreadable. Zooming in on the part that matters is what separates a demo from a raw screen recording.
- It works without sound. Many videos on landing pages and in feeds play muted. Captions carry the explanation.
- No dead time. Loading spinners, typing and scrolling are the first things to speed up or cut.
- Nothing private on screen. Real customer names, email addresses and keys do not belong in a public video.
Plan the flow before you record
Three things to settle first:
- The story. Write it as a list of clicks: open Projects, click New project, fill in the name, click Create, open the report. If the list is long, the video is too.
- The data. Use an account with believable sample data. An empty app looks unfinished and a real customer’s account is not yours to show.
- The window. Size the browser window the way you want the video to look before you record. A smaller window makes your interface larger in the frame.
Record: Autopilot or Freehand
In Stepsome a video follows the steps of a tour you already made. If you have an onboarding tour for the flow, you already have the script. If not, open the editor on your app, choose Add steps by clicking and click through the flow once.
- In the editor, click Make video in the bar.
- Click Record these steps. After a three-second countdown, Autopilot moves the cursor, clicks every step and types into fields.
- Keep your hands off until the Studio opens with the recording.
| Mode | How it works | Good for |
|---|---|---|
| Autopilot | Stepsome clicks the steps for you. | Smooth cursor movement and a take you can repeat after every release. |
| Freehand | Choose Or record while I click myself and use the app freely. Clicking one of your steps shows its title as a caption. | Flows with dragging, or anything that is hard to script as clicks. |
Two details save a retake. For a “Fill in” step, set Video text in the Step tab: that is what Autopilot types into the field. And popup steps are left out of the video, so a welcome popup in your tour does not get in the way.
Edit in the Studio
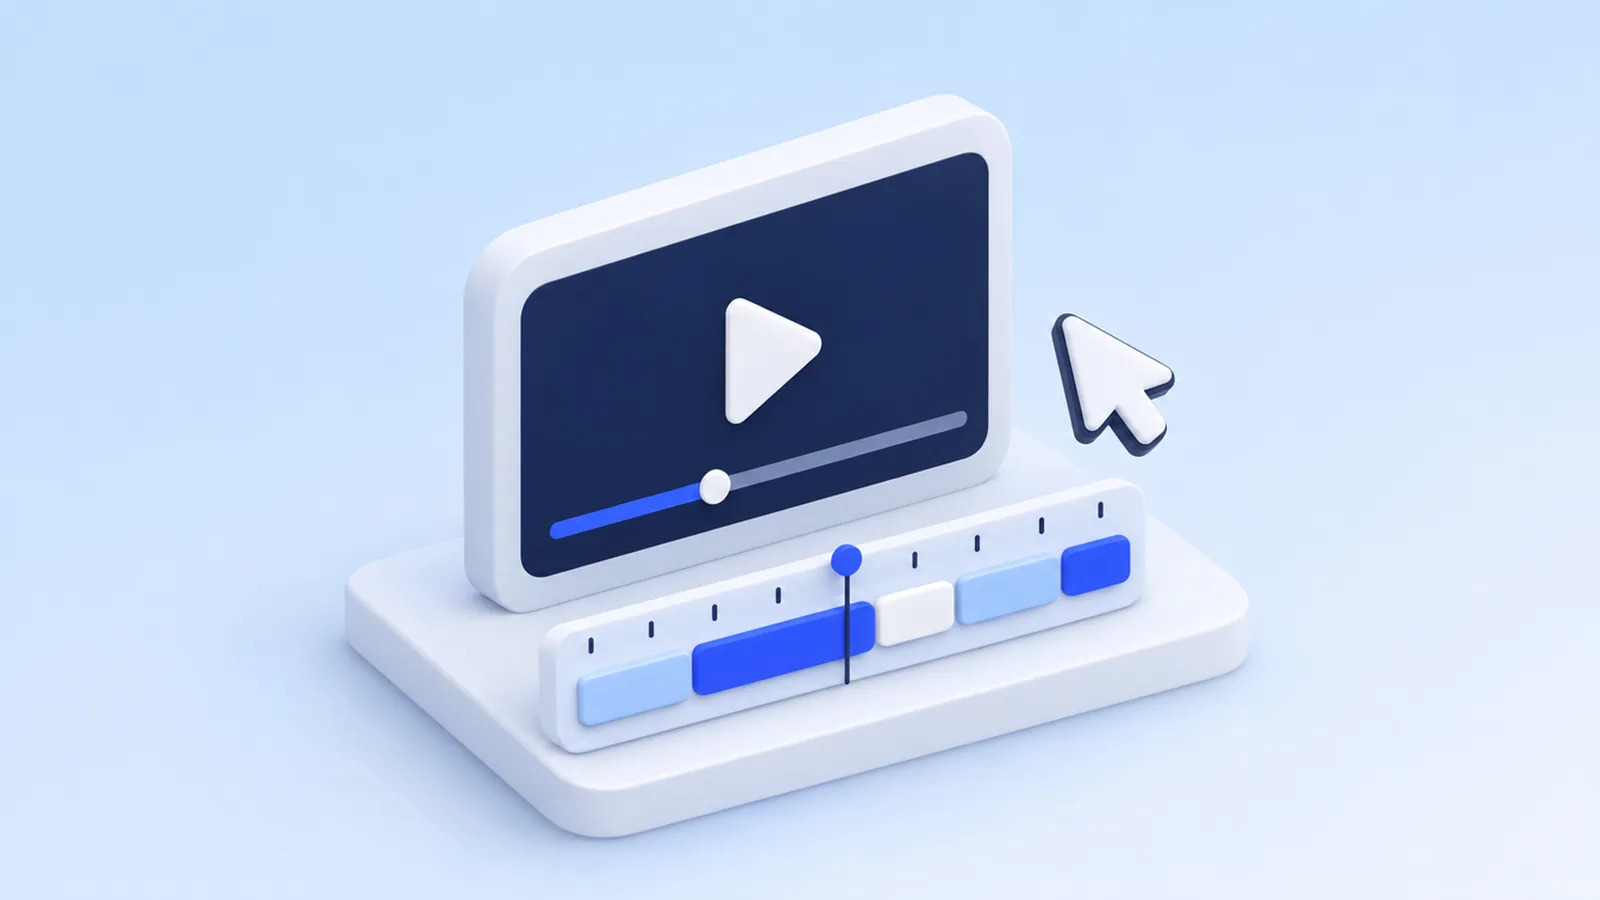
The Studio opens when the recording ends. It has a preview, a timeline at the bottom and panels on the right. The recording already has zooms on your clicks and captions for your steps, so editing is mostly adjusting.
Zooms
Zooms are added automatically on clicks. On the timeline you can drag them, stretch them and change their depth, and choose what a zoom follows: the click, the cursor or a fixed point. Press Z to add one at the playhead and Del to remove the selected one.
Speed and trim
The Speed & trim panel speeds up idle moments, changes the speed of a stretch and cuts pieces out. Drag the handles at the ends of the timeline to trim the start and the end.
Captions, text and title cards
Edit the captions of your steps, or add one at the playhead. Text boxes go anywhere on the frame. Title cards add an intro and an outro with a title and subtitle, which is where the name of your product and the next step for the viewer belong.
Blur
Under Text & blur, place a blur over anything that should stay private. You drag and resize it on the preview, and it stays attached to the page while the video zooms.
Background, frame and cursor
Background & frame sets the aspect ratio, the background, padding, corners and the browser frame around your app. The Cursor panel switches between a dark, light or dot cursor and controls its size, click ripples and an optional spotlight.
Spotted a mistake in the flow itself? Edit tour at the top takes you back to your app with the editor open. Fix the step and record again; with Autopilot the second take is identical apart from your fix.
Export: MP4, WebM or GIF
Open the Export settings panel, choose a format, a quality (1080p, 1440p or 4K) and a frame rate (30 or 60 fps), and click Export. Which resolutions are included depends on your plan; see pricing.
| Format | Use it for |
|---|---|
| MP4 | Landing pages, social posts and anywhere you upload a video. Plays everywhere. |
| WebM | An open format that browsers play directly; an alternative for embedding on your own site. |
| GIF | Places that do not play video, such as a README or an email. Exported at 15 fps and up to 960 px wide to keep the file small. |
Rendering happens in your browser, so keep the Studio tab in front while it exports. In a hidden tab the rendering stands still. Which video formats are offered depends on what your browser can encode.
What it does not do
Sound and webcam are not recorded. The videos are silent screen demos with captions, which is what most landing pages, changelogs and help articles need. If you want a voice-over or a talking head, export the MP4 and add the audio in an editor that handles sound.
Where to use the result
- Above the fold on your landing page, muted and looping.
- In a release note, one short clip per feature.
- Inside your app. An image block in a Stepsome tooltip or popup takes GIFs and short MP4 or WebM clips up to 4 MB. They loop silently and restart from the first frame each time the tooltip opens, which makes a feature announcement much easier to understand. See How to announce a new feature without interrupting your users.
- In support replies and help articles, where a ten-second clip replaces a paragraph of instructions.
Because the video is recorded from a tour, the same clicks also give you the in-app walkthrough. How to turn that into a complete first-run experience is in User onboarding for SaaS: a practical guide for small teams.